Step-by-Step Guide
Downloads & Installation
Follow this guide to download and install Phantom Editor on your system.
Step 01
Create a Free Account
Get started by creating your Free Phantom Editor account.
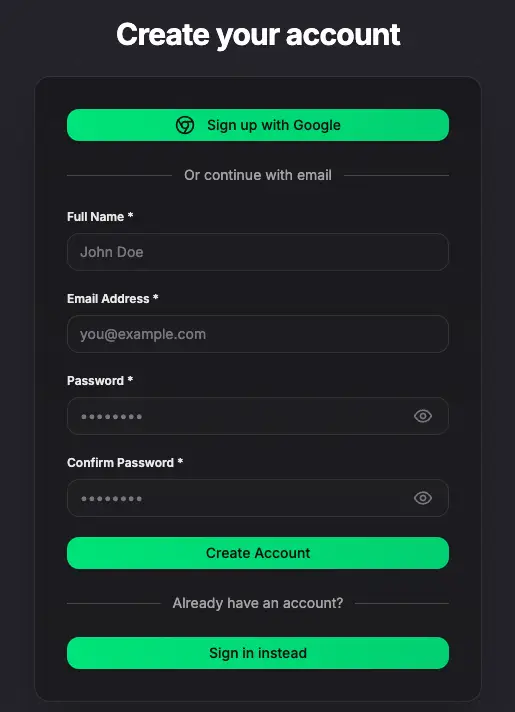
- Visit our signup page to create your account
- Verify your email address to access the dashboard
Step 02
Download the Plugin from your User Dashboard
Access your purchased products from the dashboard.
- Log in to your User Dashboard
- Scroll down to the Downloads section
- Download the plugin
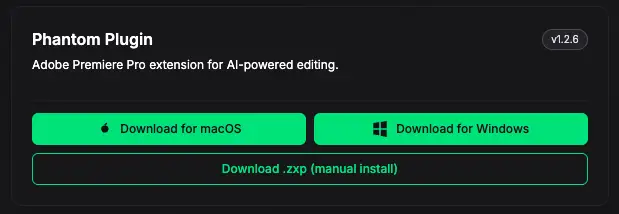
Step 03
Choose Installation Method
We offer two ways to install your extension.
Windows Users NoteSome Windows users may experience issues with the one-click installer. If you encounter problems, please use the ZXP installation method.
- Option A: One-Click Installer (Recommended for macOS)
- Option B: ZXP Installer (Alternative Method)
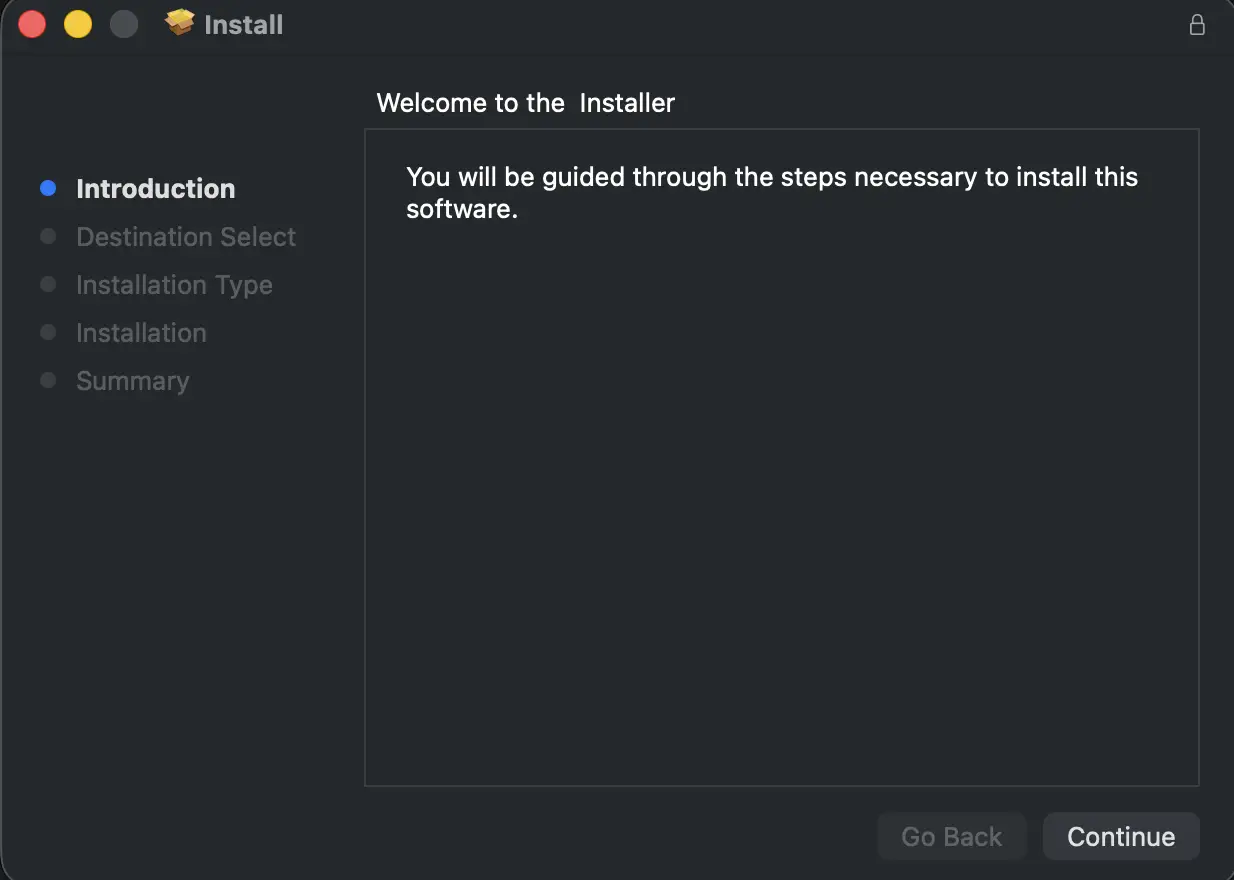
One-Click Installer
Simply download the installer for your OS and run it to install automatically.
Ready for the next step?
Once you have installed the extension, learn how to open and dock it in Premiere Pro.
Opening the Plugin